MENU
MENU


1st Row
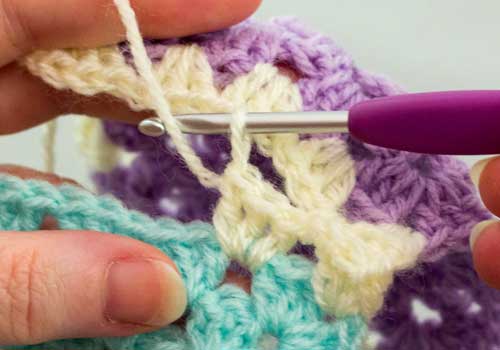
1. Make a slipstitch on your hook, yoh, and holding in place with your finger, insert the hook in the corner chsp of the granny square.

2. Yoh, pull a loop through and complete the tr.

3. Work another 2tr in the same place.

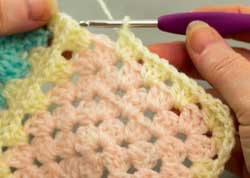
4. Complete three sides as a regular round until you reach the final corner.
Work 3tr, 1ch in the corner.
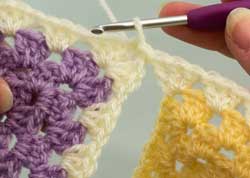
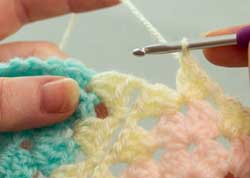
5. Work 3tr into the 1st corner of the 2nd granny square.
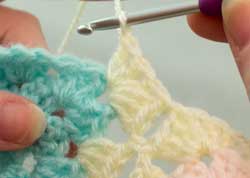
6. Fold at the 1ch so that the edge of the 2nd square lies next to the 1st one.
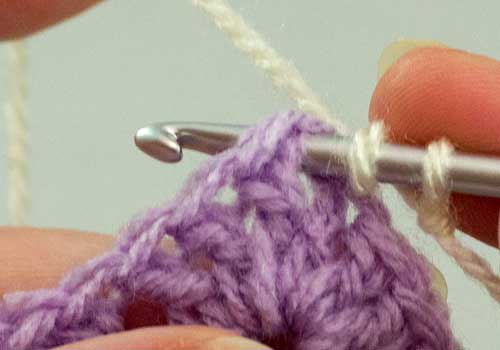
7. Ss into the space between the two groups of 3tr on the 1st square then work 3tr into the next space between the two groups of 3tr on the 2nd square.

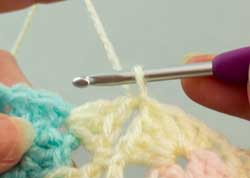
8. Continue in this way until the next corner and work a ss into the chsp on the 1st square.

9. Work another 3tr into the same chsp on the square then continue as a regular round until you reach the final corner.
Work 3tr, 1ch in the corner.
Continue in this way until you have added as many squares as you need for the 1st row.
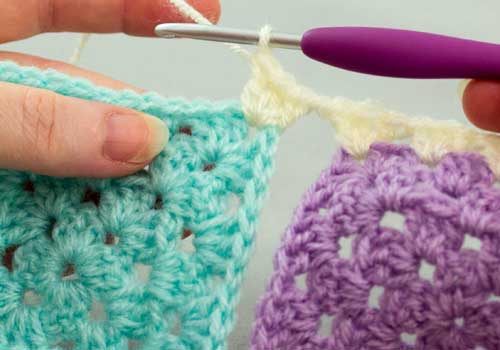
10. On the final square work around to the 1st corner.
11. Work 3tr in the 1st chsp of the final square.
12. Ss into the 1ch between the squares.
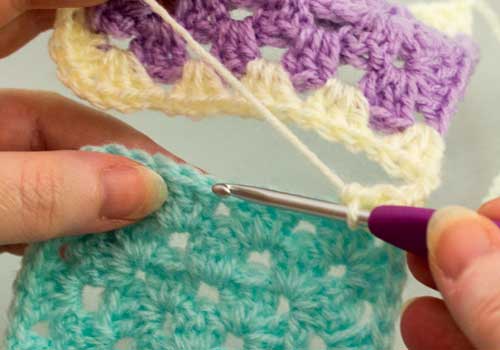
13. Work 3tr in the 4th chsp of the next square.
Continue working along the 4th edge of all of the squares until you reach the 1st one.

14. 3tr into the 1st corner, 1 ch and ss to the 1st tr.
Fasten off and sew in ends.

15. 1st row finished.